thunderlizard nft collection
This summer, I had an incredible experience working at Floodgate, a venture capital firm specializing in pre-seed and seed-stage startups. Thank you to Tyler Whittle, Brooke Martin, and Ann Miura-Ko for believing in my capabilities before I was even aware of them. Before this summer, I had limited knowledge about the crypto & web3 space, and it’s amazing to see how much I’ve learned in just ten weeks.
I created a transfer-restricted generative NFT collection that would serve as an access token for the Outliers. In this article, I’ll reflect on the process of creating a generative non-fungible token art collection, from designing the pixel art to creating a ReactJS web app to minting an NFT on the Ethereum blockchain.
my role
Product Designer
NFT Artist
timeline
toolbox
HTML/CSS/Js
Python
Figma
PixilArt
Solidity
github repositories
the process:
1. design the generative pixel art layers
For the collection, I wanted to have each thunderlizard avatar be unique and have a set of traits with custom rarities.
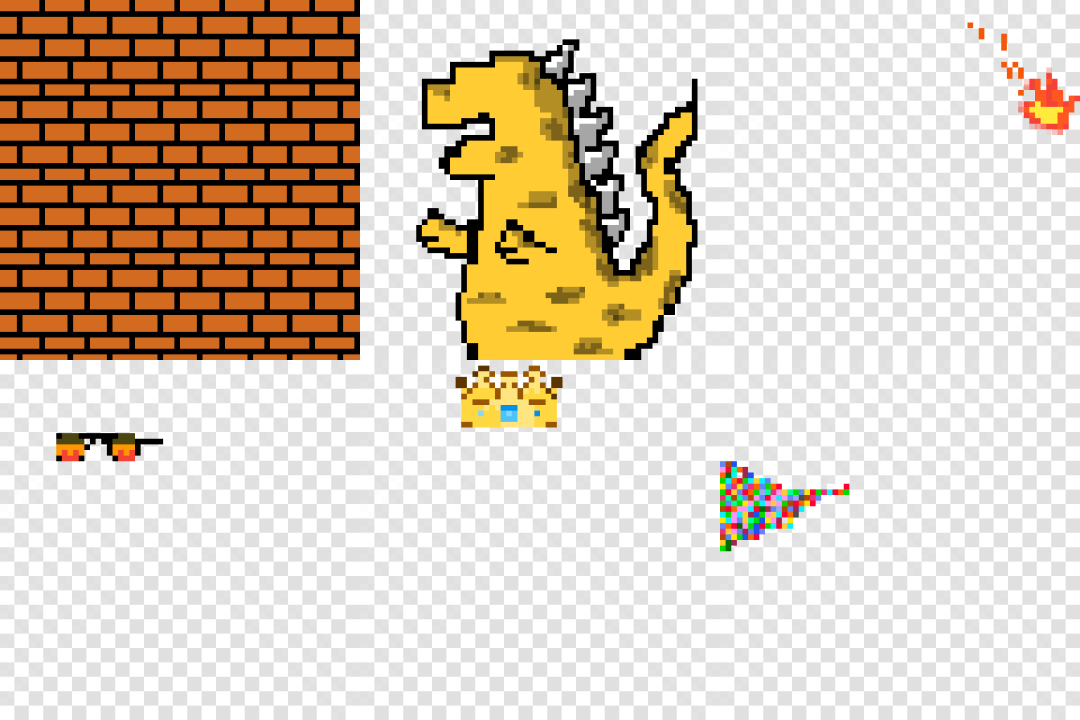
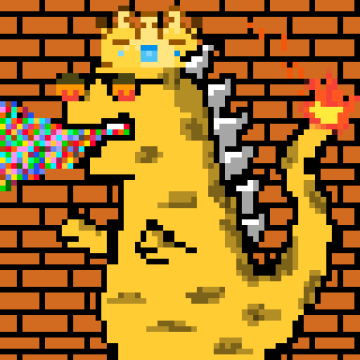
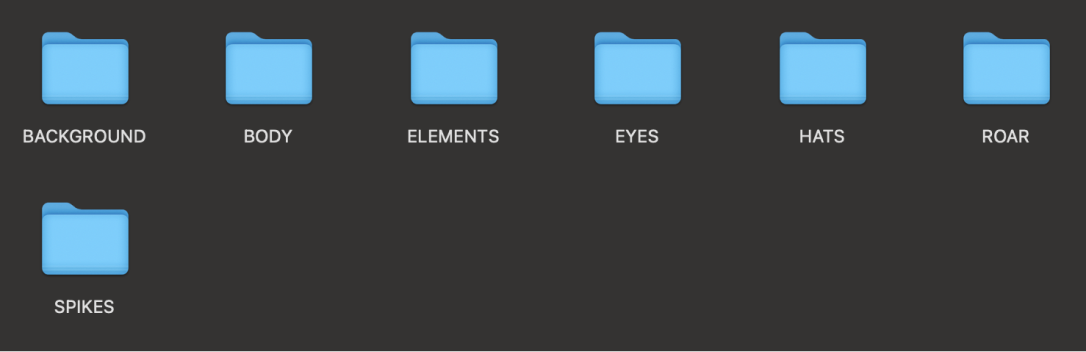
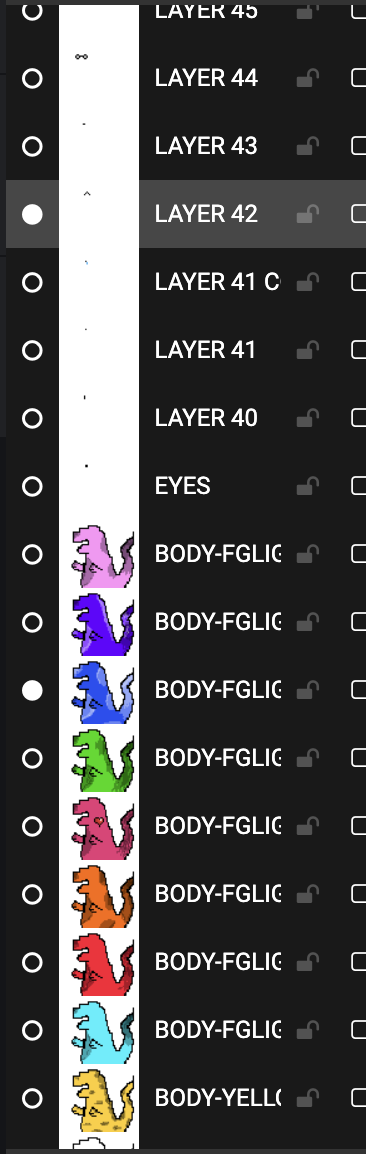
I started off thinking about the different PNG layers that I wanted to layer on top of each other and came up with 7 categories: background, body, elements, eyes, hats, roar, and spikes. Each trait category has a different number of trait images.
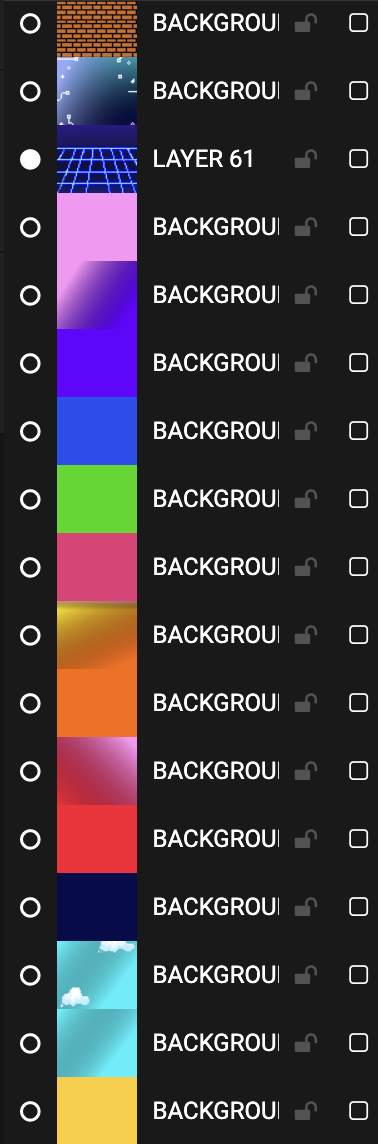
Using pixilart, I created a new 650x650px canvas and started with the Background category since this would be the first layer for other traits to be layered on top of. Each trait image must be the same size of 650x650px regardless of which parts are transparent.
Some key factors:
- Excluding the background trait, each trait image in the categories must have a transparent background in order to be layered on top of each other.
- The trait images, each its own layer, should be stacked in order.
- Each trait image is drawn where the position of the trait would fit in with respect to the other traits.
I ended up with 65 different layers of traits: 16 background options, 9 body color options, 4 element options, 12 eye options, 6 hat options, and 14 roar options (excluding the one spike option that is layered on each thunderlizard avatar).
One mistake I made was not naming the trait images appropriately, which resulted in me having to go back to rename each trait in the metadata.
In total, I could create a total of 580,608 distinct avatars with the various trait layers.
2. generate collection using python
# THESE LAYERS MUST BE ORDERED.
CONFIG = [
{
‘id’: 1,
‘name’: ‘background’,
‘directory’: ‘BACKGROUND’,
‘required’: True,
‘rarity_weights’: None,
},
{
‘id’: 2,
‘name’: ‘body’,
‘directory’: ‘BODY’,
‘required’: True,
‘rarity_weights’: None,
},
{
‘id’: 3,
‘name’:‘spikes’,
‘directory’: ‘SPIKES’,
‘required’: True,
‘rarity_weights’: None,
},
{
‘id’: 4,
‘name’: ‘roar’,
‘directory’:‘ROAR’,
‘required’: True,
‘rarity_weights’: None,
},
{
‘id’: 5,
‘name’: ‘eyes’,
‘directory’: ‘EYES’,
‘required’: True,
‘rarity_weights’: None,
},
{
‘id’: 6,
‘name’: ‘hats’,
‘directory’: ‘HATS’,
‘required’: True,
‘rarity_weights’: None,
},
{
‘id’: 7,
‘name’: ‘elements’,
‘directory’: ‘ELEMENTS’,
‘required’: True,
‘rarity_weights’: None,
},
]
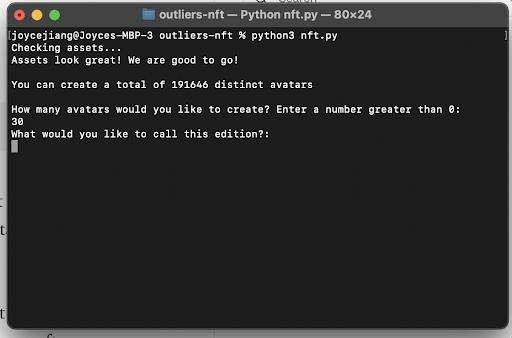
I set each trait’s rarity_weight value to None so each trait would have a uniform probability of being selected for an element. For example, since I created 9 body colors, each body color had a 1/9 chance to be selected when constructing a thunderlizard. . Then, I ran nft.py to generate my collection in the command line that successfully exported to the OUTPUTS folder.
.png)
3. storing your nft
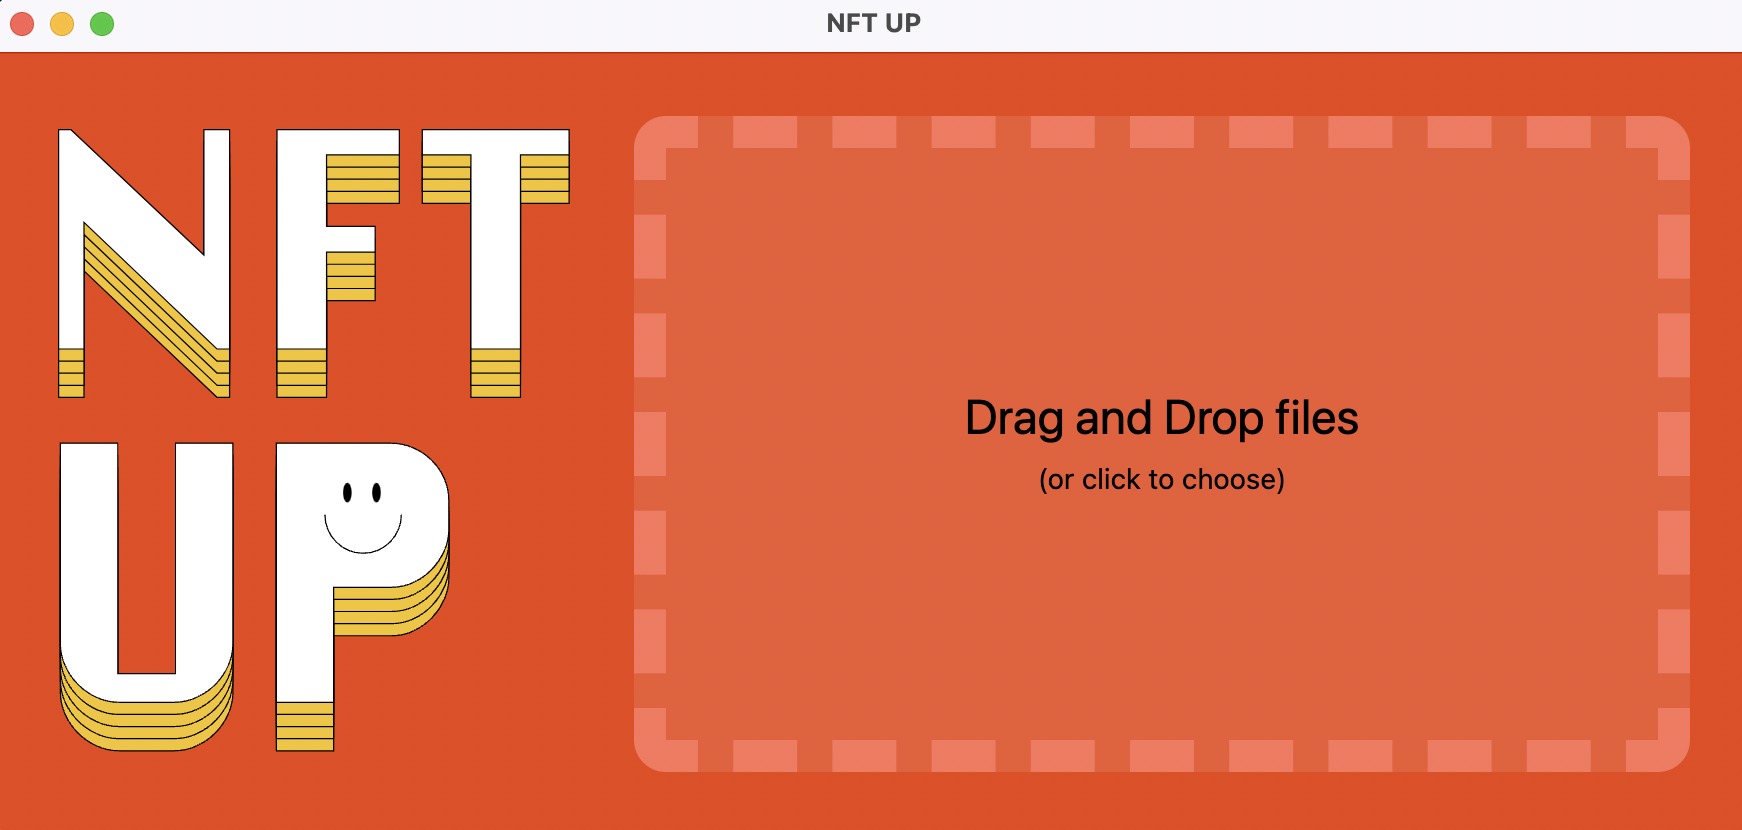
3a. uploading via NFTUp
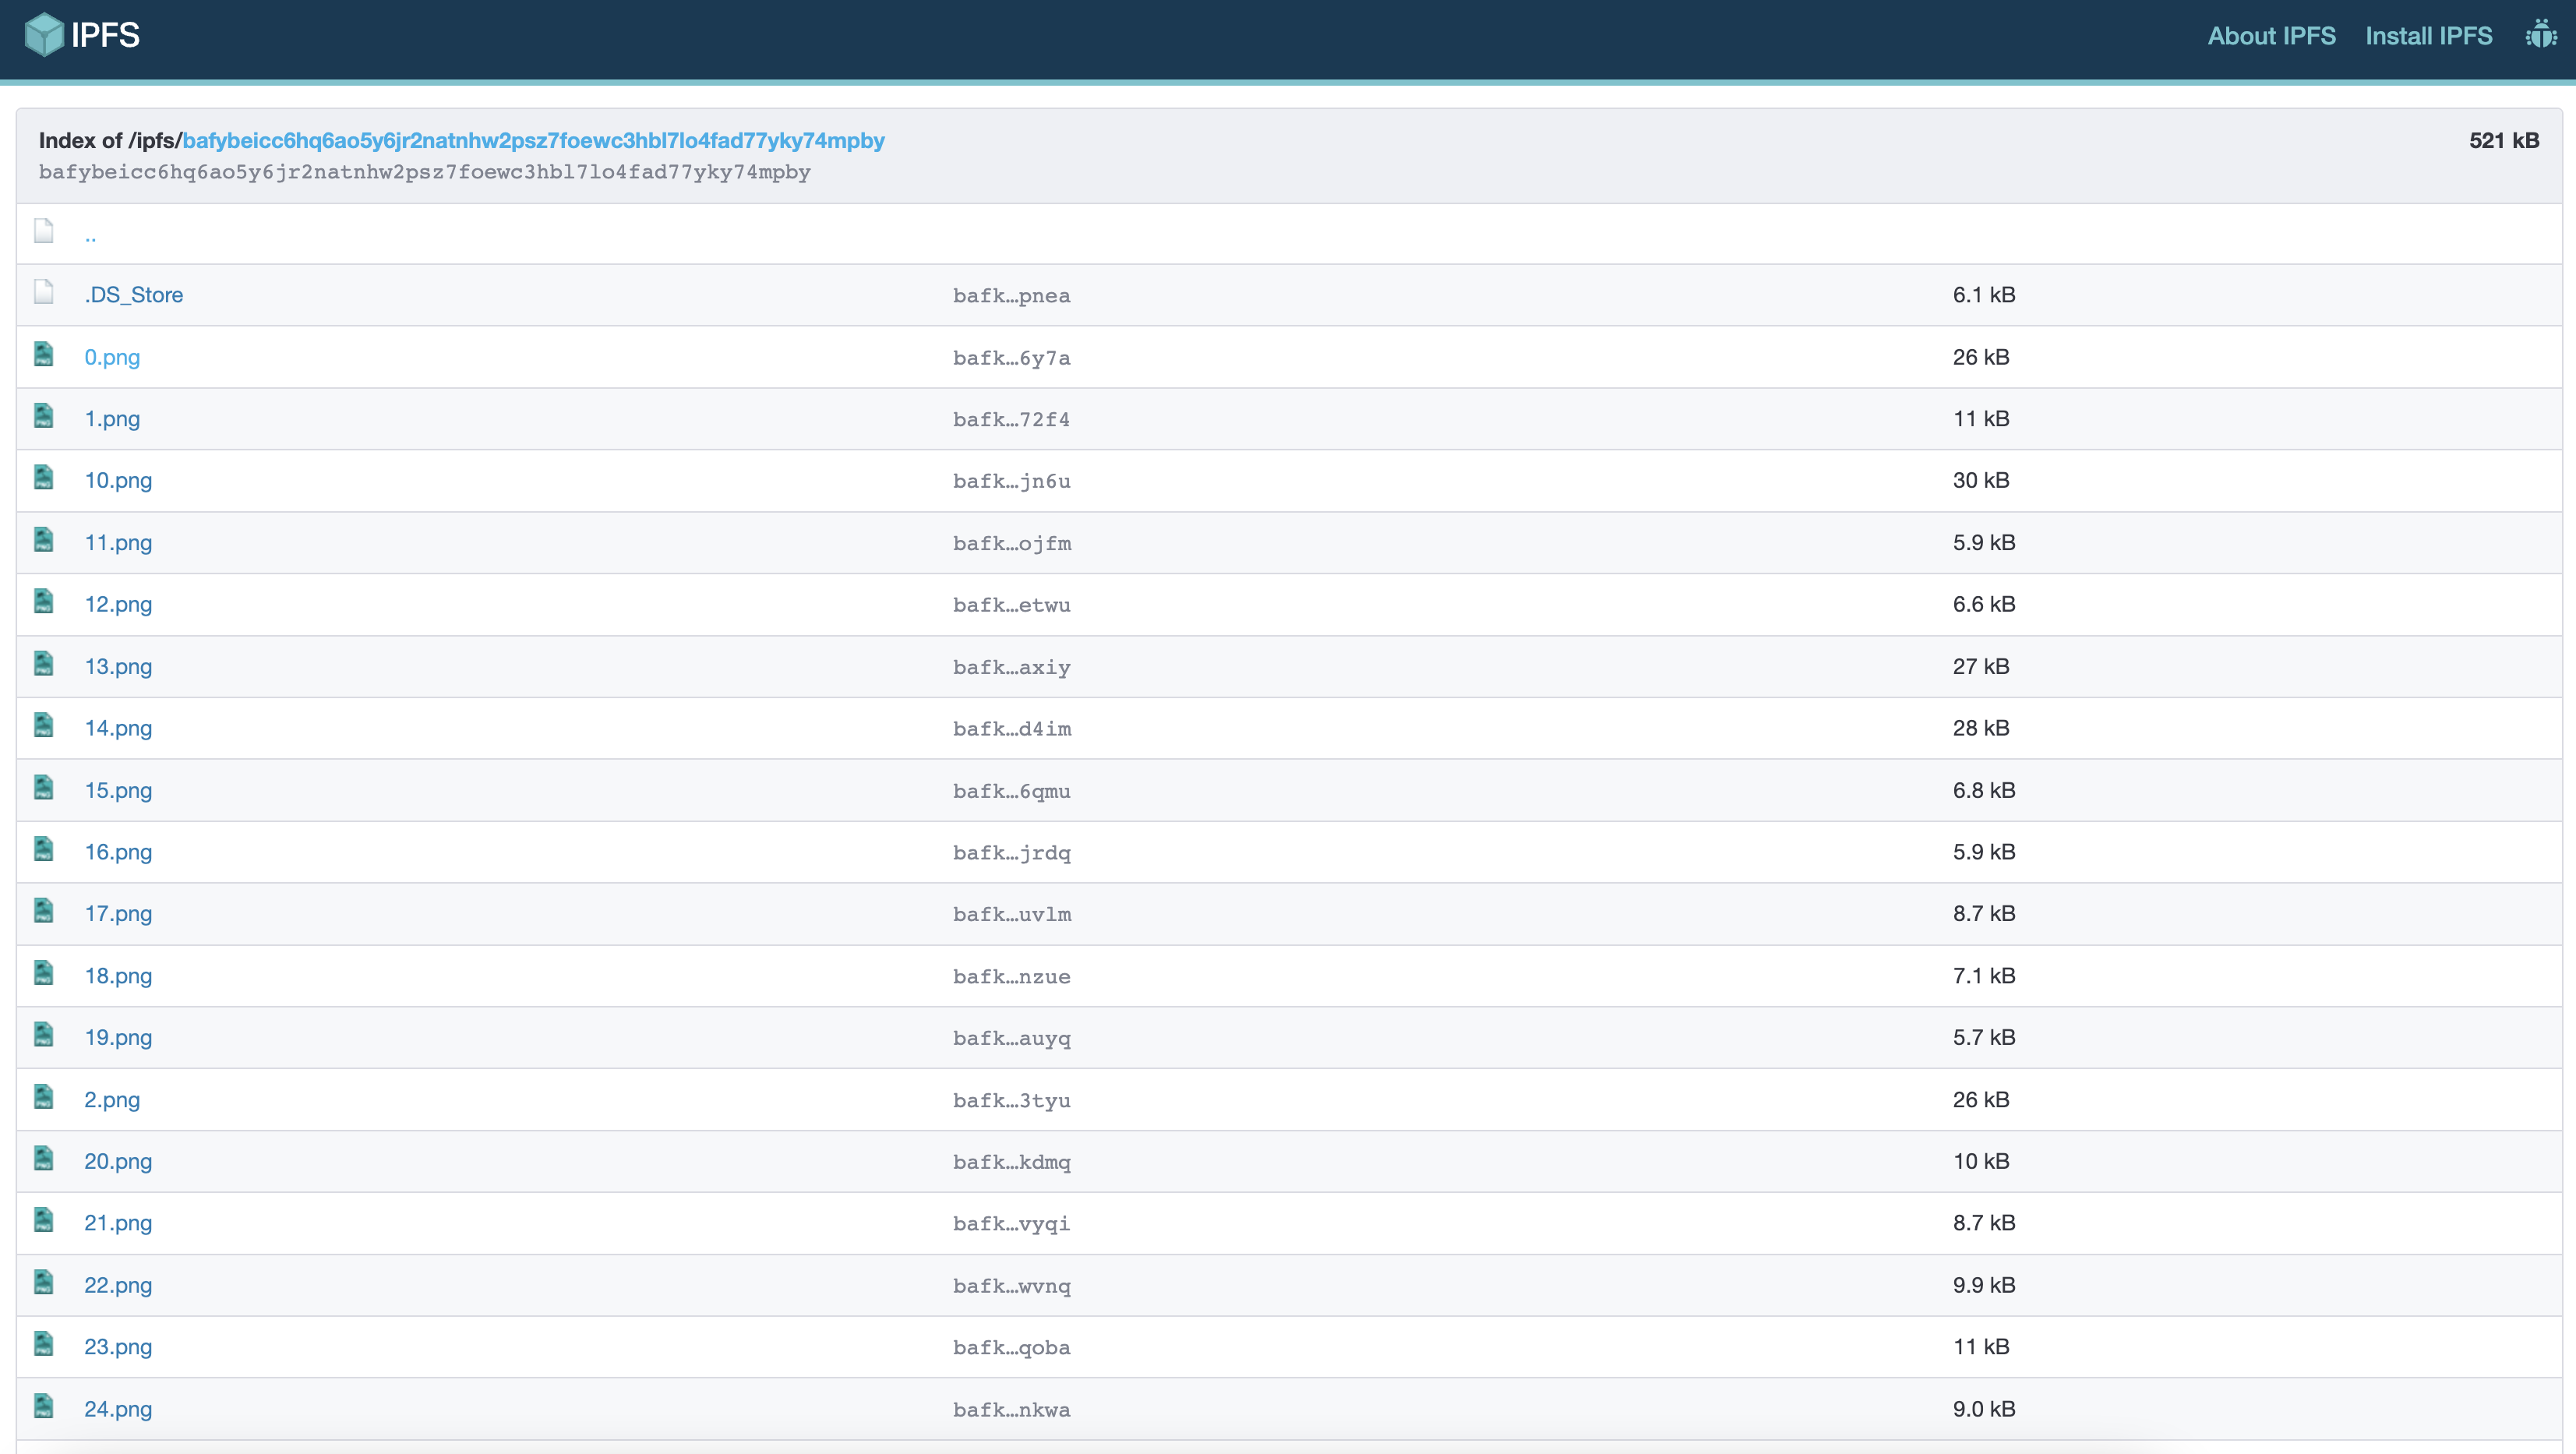
Once the images were generated in the OUTPUTS folder, I used NFTUp to store the png images generated which then gave me an IPFS Image URL in the format “ipfs:// …”.
Since we haven’t generated the metadata for each png image, this will not be the IPFS URL that is used to set your BASE URI in your smart contract.
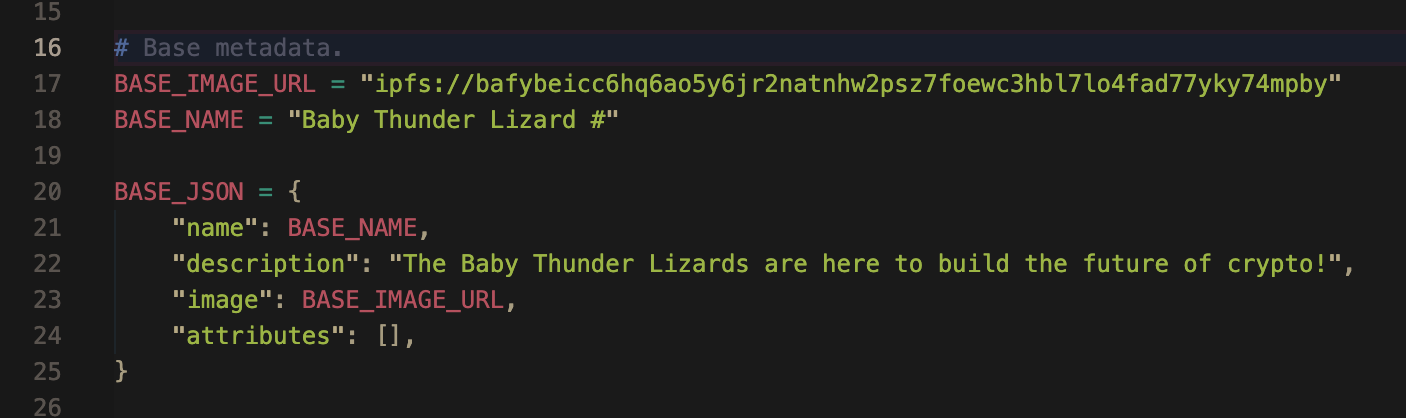
Going back to the GitHub repository, I modified the metadata.py file to include the IPFS URL containing just the png images.
3b. creating the metadata
In order for NFT marketplaces like OpenSea and Rarible to pull in data to render an image, we need to provide asset metadata by setting the BASE URI in the smart contract. Here’s the OpenSea documentation to read more about why the metadata is necessary.
Digital assets on a given smart contract are typically represented solely by a unique identifier (e.g., the token_id in ERC721), so metadata allows these assets to have additional properties, such as a name, description, and image. [OpenSea Documentation]
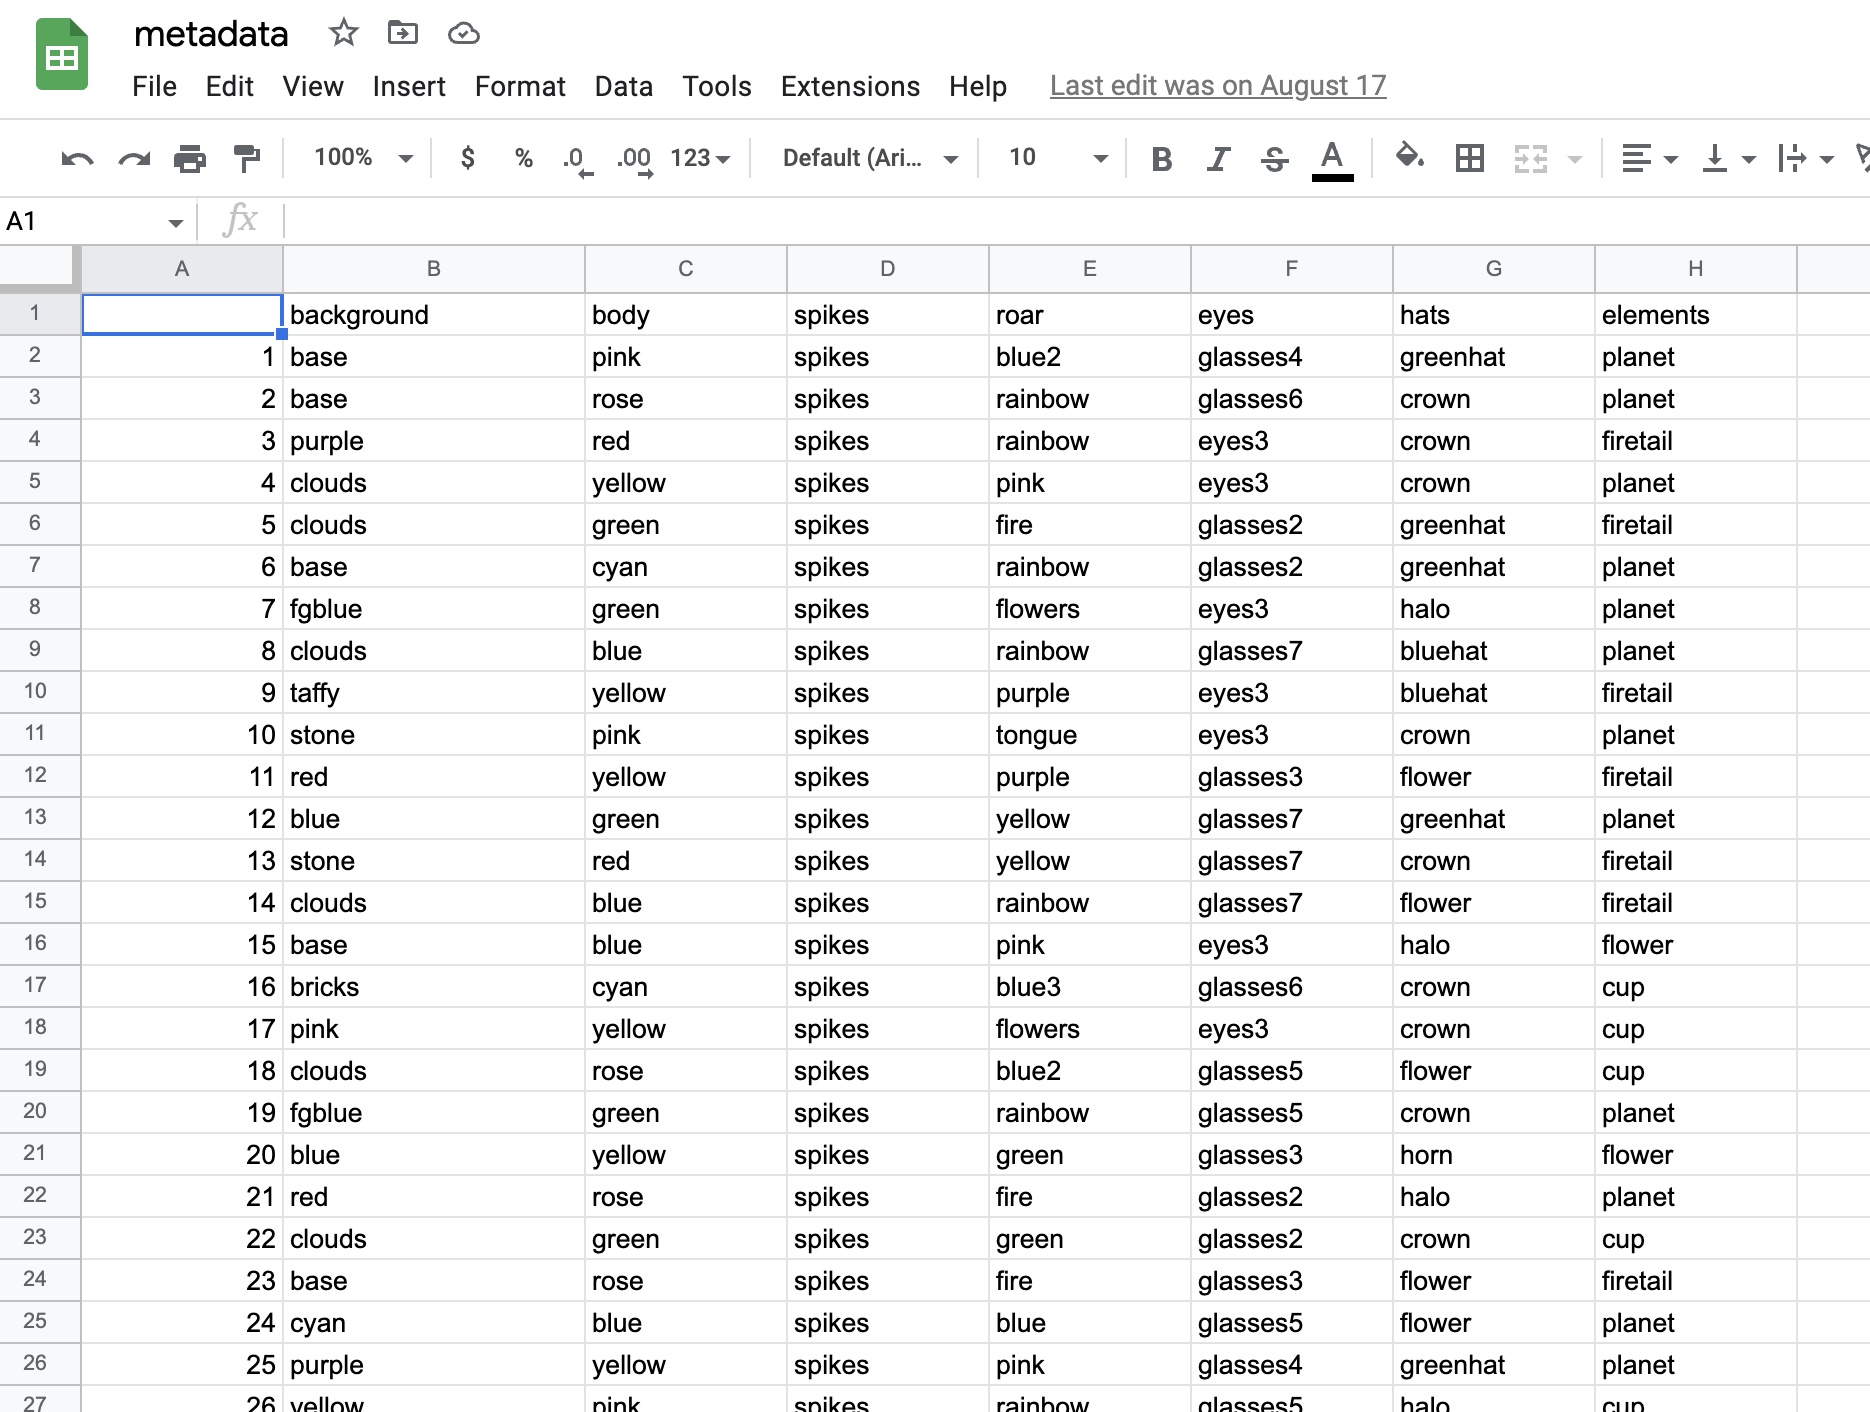
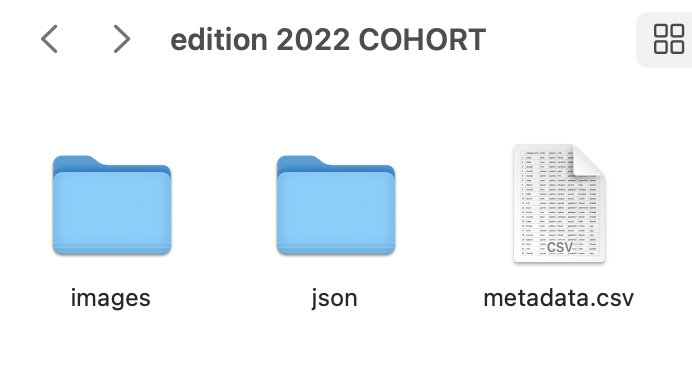
Going back to the terminal and running the metadata.py file, I ended up with a CSV file and JSON folder containing the metadata needed to link to the base URI for the smart contract.
4. connecting to a smart contract with an IPFS address
I uploaded the folder containing the CSV file, JSON file, and the images titled [edition 2022 cohort] to NFTUp to get an IPFS URL. This was different from the first folder we uploaded to IPFS that only included the jpeg images. This is the IPFS URL that I used to set the Base URI in the smart contract since it contains the metadata. One mistake that was made was not having a backslash after setBaseURI(ipfs:// …. /) to hash each index.
The URIs to access each image are in the format BASE_URI + TOKEN_ID where TOKEN_ID starts at index 0 and increments indefinitely.
Some resources to allow the code to be compatible with IPFS and displayable on OpenSea):
5. coding the front-end web app to mint the NFT
Now that we have the smart contract ready, I needed an actual web platform that an Outlier could access to mint an NFT.
I used this buildspace tutorial to help me through this process and cloned this GitHub repository to get started. This was also my first time coding in React! Here’s my Github repository :)
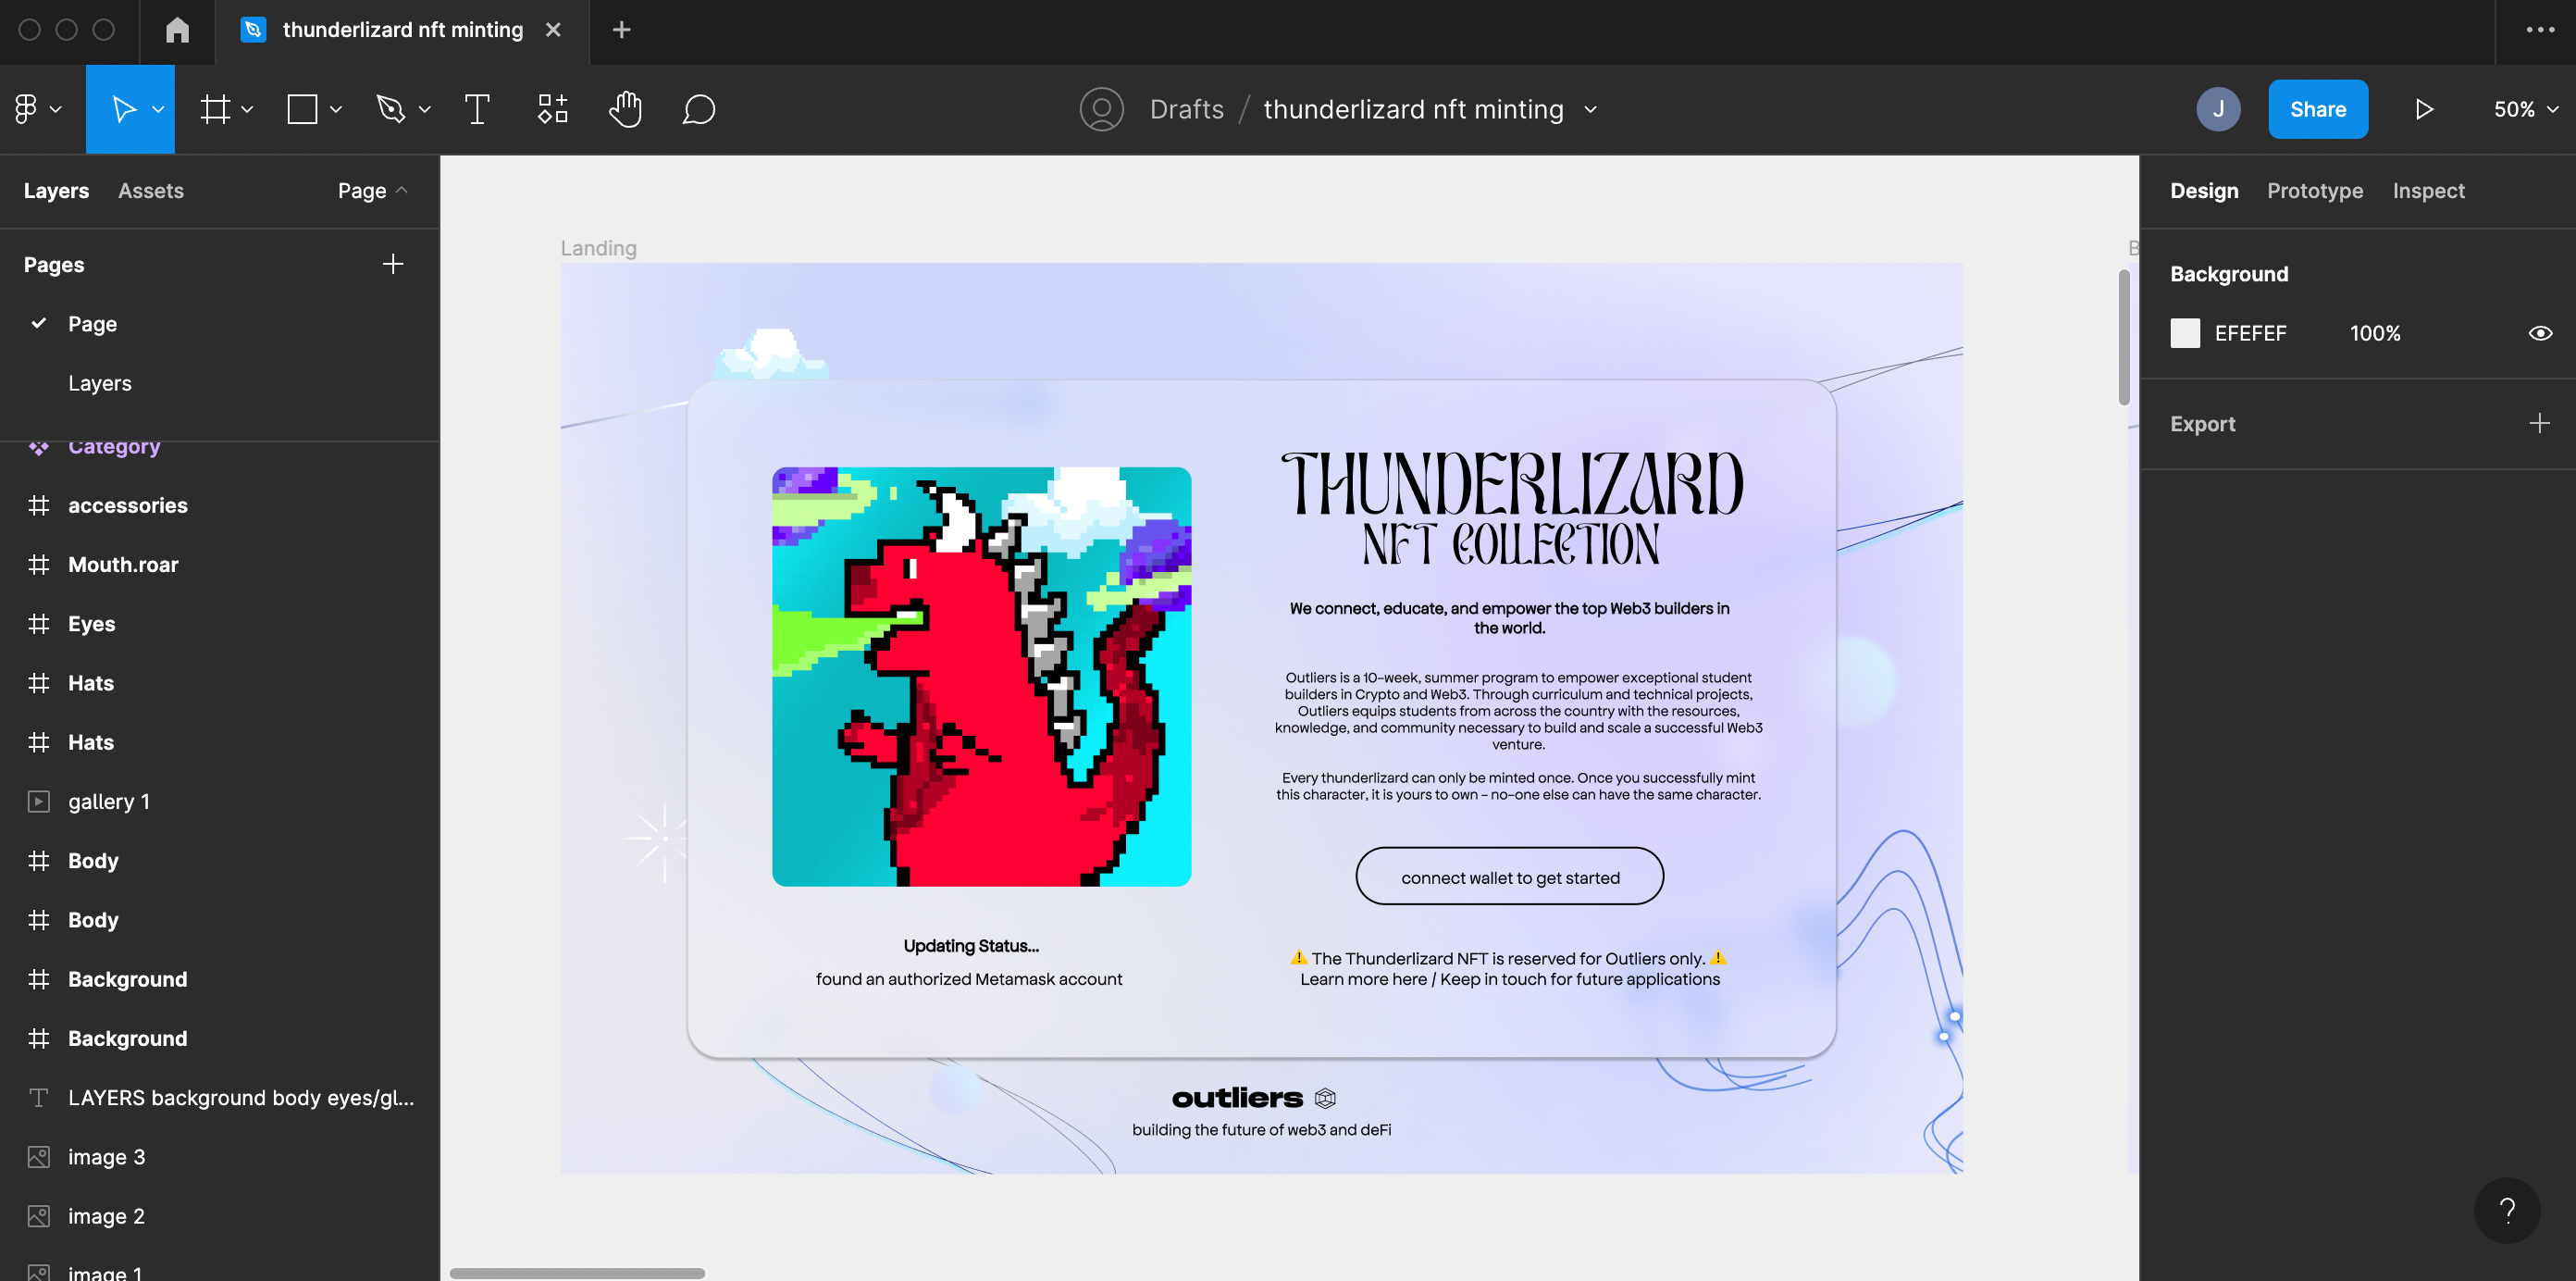
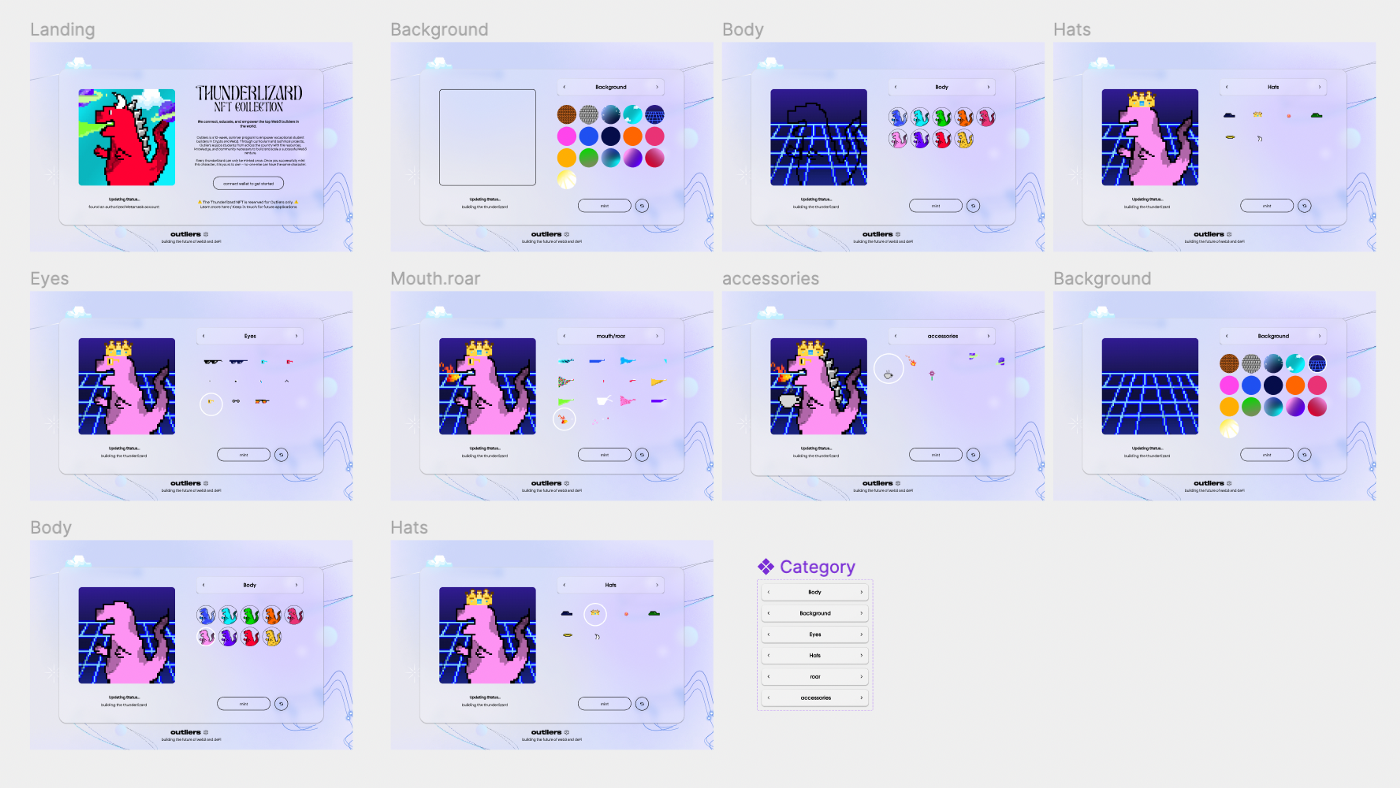
Personally, the design engineering process is easiest when I design a landing page prototype in Figma first. This makes coding the front end in ReactJS 10x easier when it comes to design decisions in code.
After going through multiple iterations, I landed on some key features to include in the front end:
- Status update div box that describes what is currently going on in the back end (e.g. if your wallet is connected, if there was an error minting, currently minting, etc.)
- Once the NFT has successfully been minted, the Outlier will be able to see their asset on both Etherscan and OpenSea
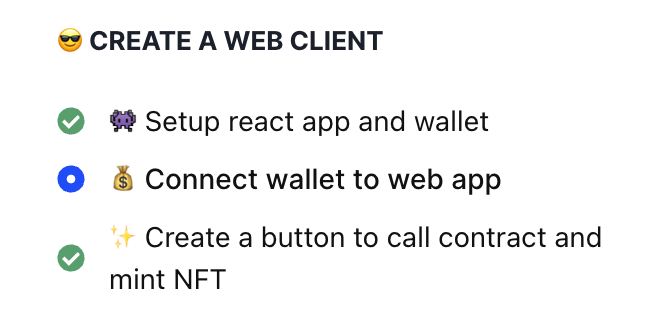
- A “connect wallet” button that will display a MetaMask wallet
- Having both “connect wallet” and “mint nft” not show up at the same time, but once the wallet is connected, the button swaps out for the “mint nft” button
- A GIF of some example thunderlizard avatars and a blurb of what the collection is for
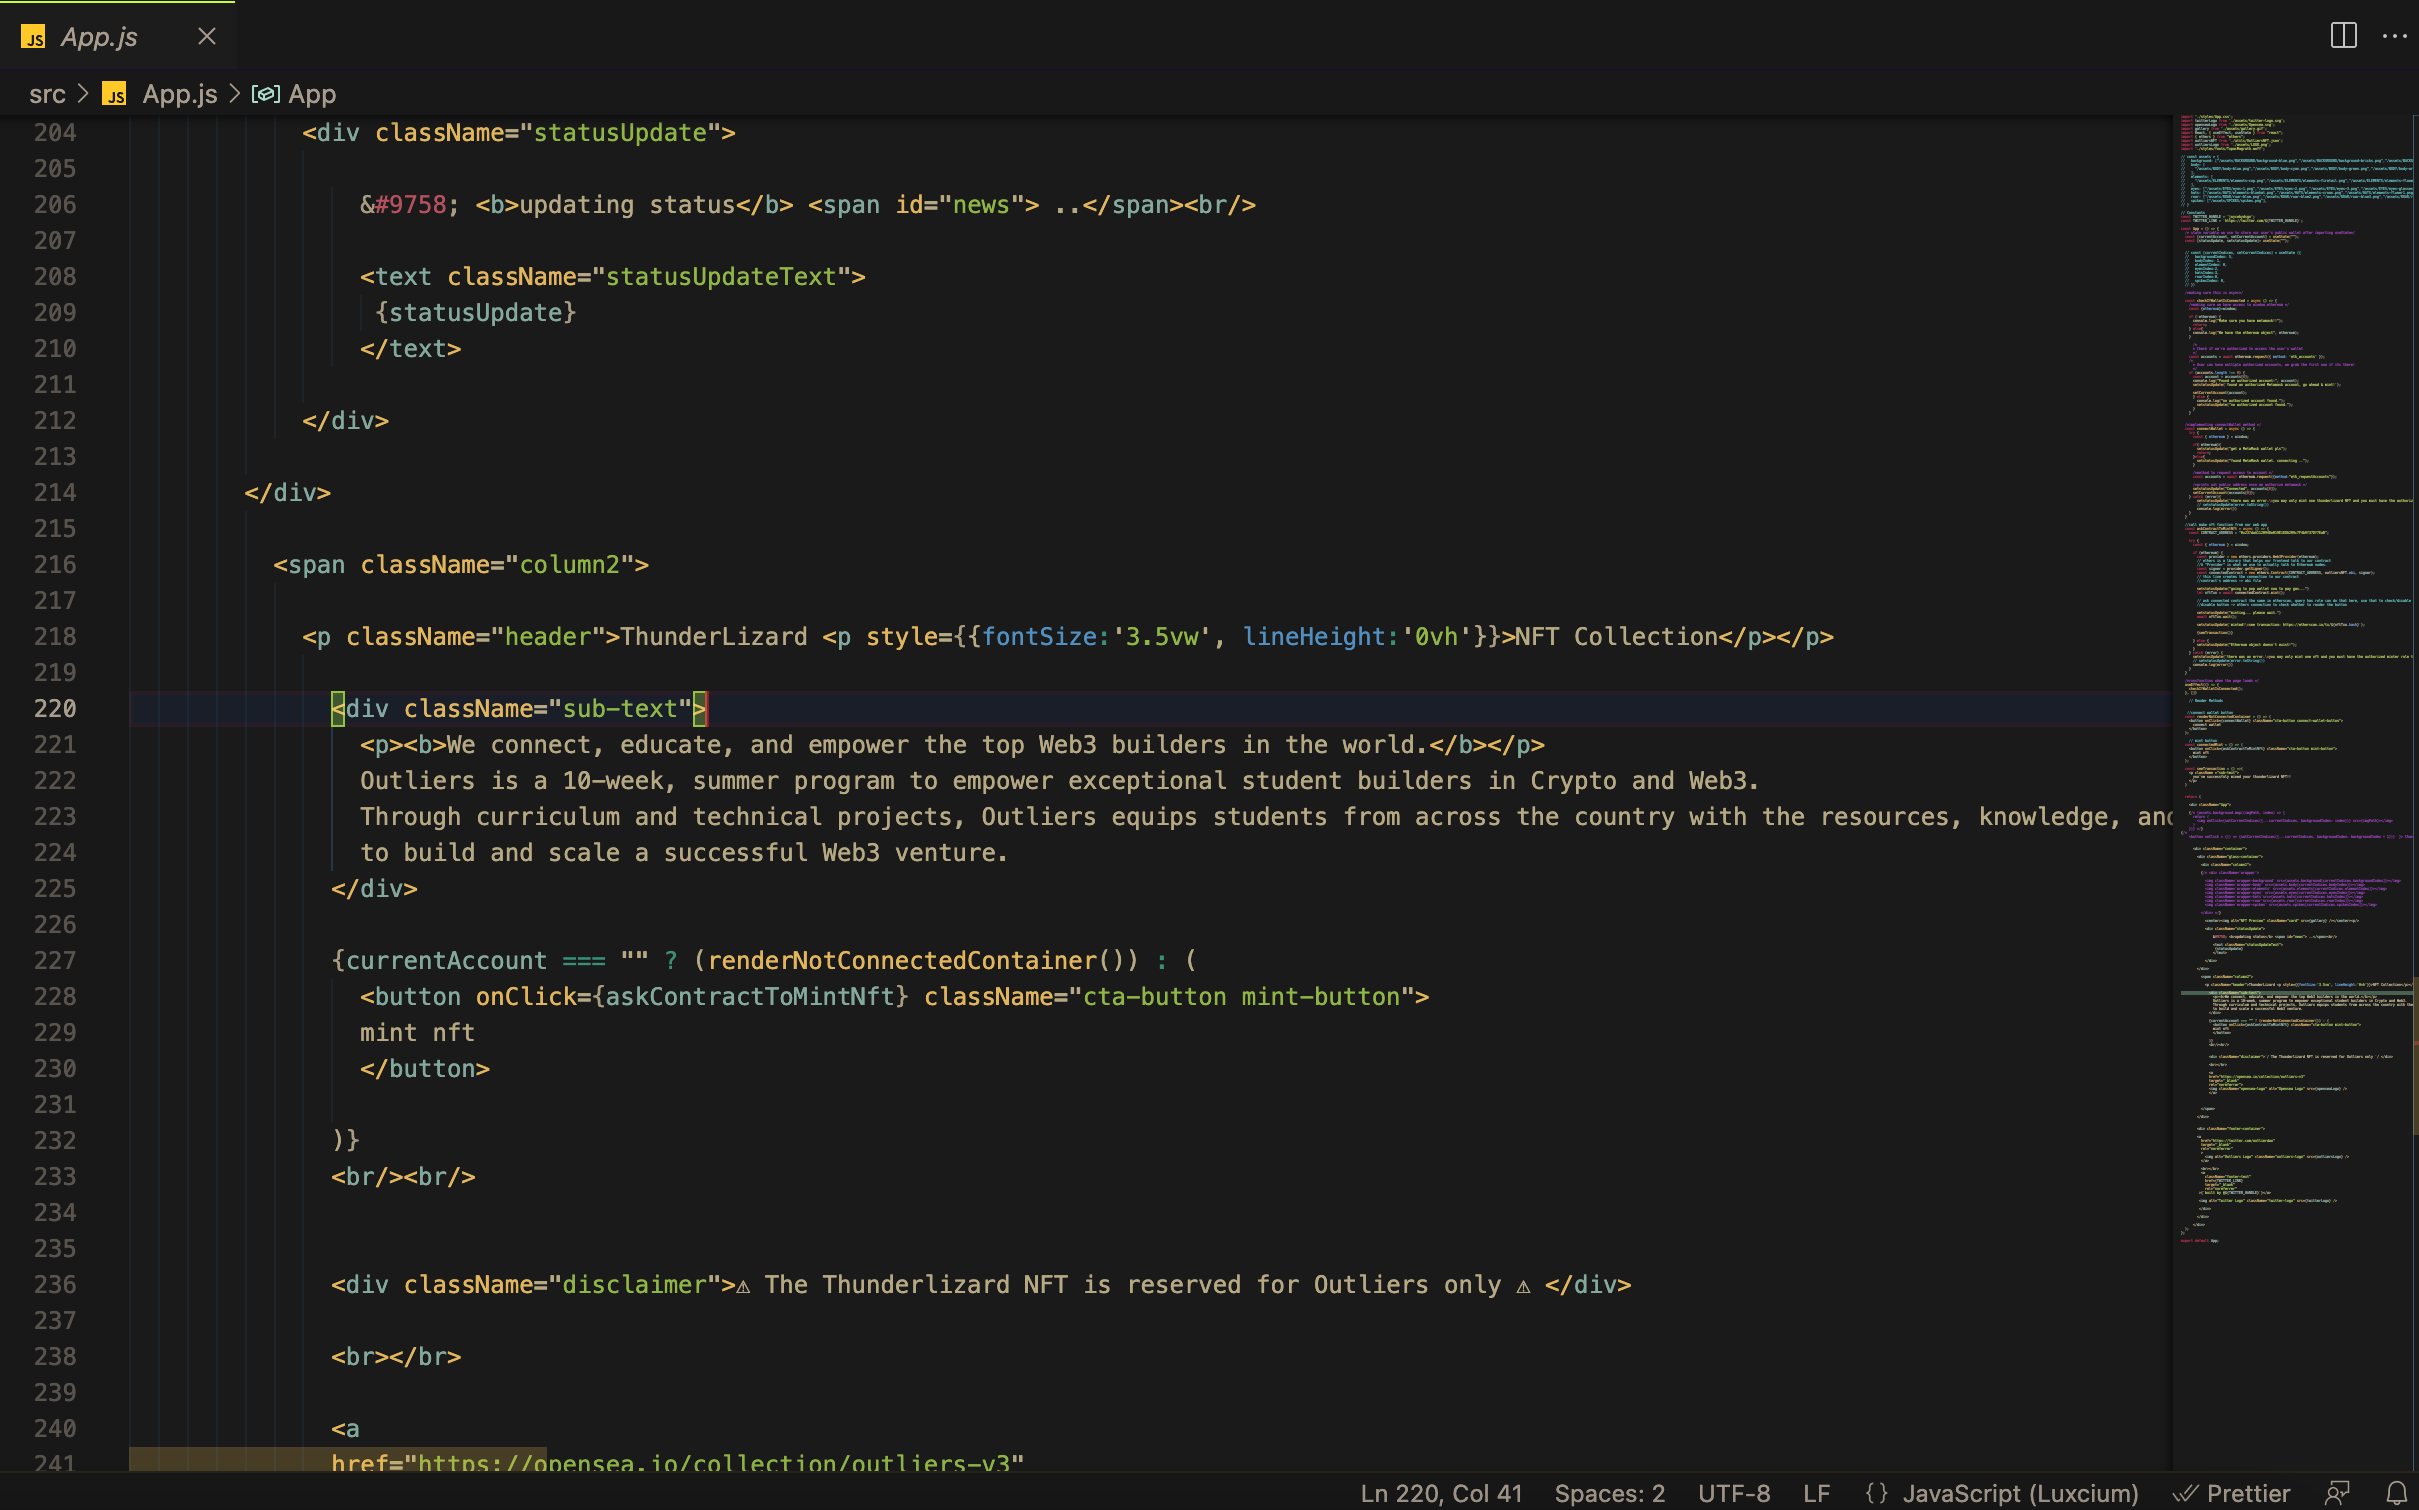
With this deployed React project, I built the front-end components based on the Figma design and followed the tutorial to connect the smart contract with the web app. Some important things I learned:
- ABI files: this is really important for the web app to understand how to communicate with the smart contract.
- If you’re redeploying a contract, the contract address on the front end App.js needs to be updated, as well as the ABI file.
This is a good tutorial for deploying your React app to host on GitHub pages!
conclusion: so what's next?
So what’s next? If I could continue this project further and have more time to look into solving this problem, I would really like to explore how I could develop a website that allows the user to choose custom traits on the thunderlizard. By providing the respective trait layers, I would use the frontend ReactJS code to stack the images, instead of going through the process with the Python code, and mint their own custom thunderlizard.